How to Uninstall Skype for Business on Windows 10 The Skype for business is a video chat application. It is only usable for those who have an account to use it. If you are currently using Windows 10 operating system and Skype’s automatic start with popup screen is annoying you. It also slows down working of your PC. No need to be a worry at all. In this article, I am going to tell you the solution to this problem. You can learn that how to avoid the automatic start of Skype or how to Uninstall Skype for business from your Windows OS.
Stop Skype Business From Opening Automatically:
If you want to stop the automatic opening of Skype then, follow the following steps:
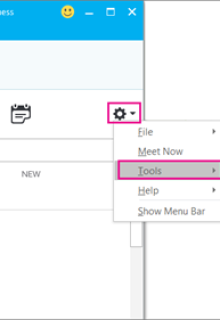
Step1: Open Skype. Click on Settings at the top right corner of the Windows.
Step2: Click on Tools and select Options.
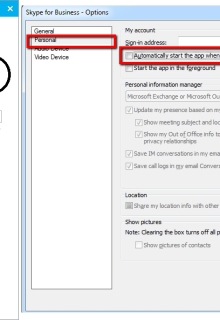
Step3: A new window will appear. Choose Personal, and then uncheck automatically start the app when I log on to Windows and Start the app in the foreground. Then choose OK.
Step4: Again, go to Settings, then Files and select Exist.
Now Skype is present on your PC but, you will no longer see it.
How to Uninstall Skype?
If you do not want to keep Skype on your PC then follow the following steps for quick uninstallation of Skype:
- Step1: Go to the star-up menu and open control panel.
- Step2: Now a Window screen will be open, here select program then you will see an option of Programs and features. Select the Uninstall program option from this screen.
- Step3: Select Skype for business from the list of programs. Now click on uninstall.
- Step4: You will see a dialog box displaying ‘Ready to uninstall?’, click on the Uninstall button.
- Step5: After the installation completes click on close.
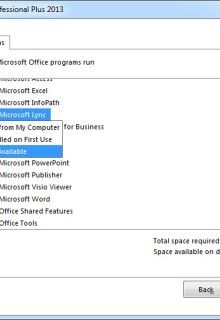
Hope these steps will help you to uninstall Skype for business in Windows 10. If it does not work then disable Skype by going on to your PC registry. Remember, it is necessary to uninstall the office suite if you have an office 365 Skype for business suite otherwise you will not be able to uninstall it.

